
 My digital collages are frequently works in progress. While the initial digital aspects of the collage don't often take long to create, it frequently takes me awhile to get to the sewing and drawing and to the decision that the piece is complete. I started this collage, which I call Temptation back in March and only recently finished it, or so I thought. Since summer I have been taking an encaustic class in which I work with beeswax or wax medium and pigments to create textured paintings. I wanted to find a way to add more dimension and texture to my collages. I'm still learning and it has been a process. You need to work in a well ventilated space, which means I have only been able to work on my projects while in my weekly class. I've been a little slow at mastering the techniques, but recently came up with a few pieces that I really like. The problem is knowing when they are finished. The thing with digital projects is you can always scan them back in and continue to revise and revamp them. I've learned that the wax medium also allows you several alternatives, so I've been experimenting with some of the techniques. On November 20th, my class is going to have a show. We're calling it an Encaustic Jamboree. I now have several pieces to put in the show.
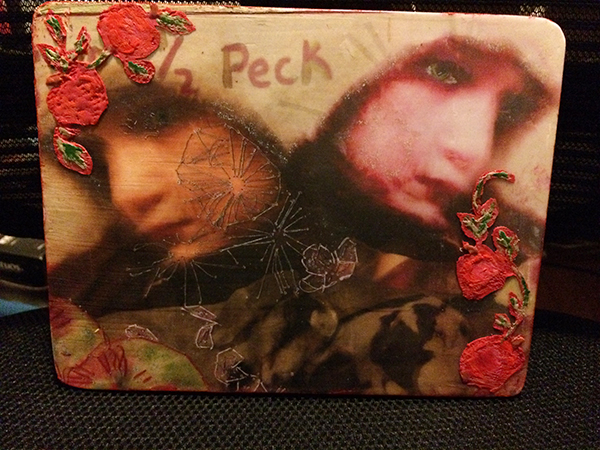
The piece shown above is not encaustic. It's the finished version of my digital collage. Originally, I was going to have only one image of a girl in the picture, but created the mirror image when I printed the collage out on vellum paper. It created a whole new look. I scanned the vellum print back in and flipped the image, adding it to the original collage so that I now had two girls. I printed the collage on a laser printer and brought it to my encaustic class. There I secured it to a wooden board with PVA, bookbinding glue, sanded the edges to make the image flush with the board and then dipped it in wax. From there I created a stencil of apples on a vine. I cut out the stencils and painted in the apples with red wax, adding green accents later. Then using acrylic paint, I painted the edges of the board cherry red. Below is the final result, which I will be showing in the Encaustic Jamboree.
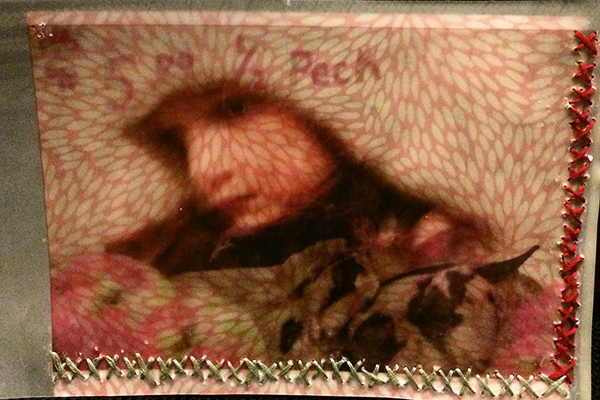
That same class I also brought in some alternative versions of the print including the image I had printed out on vellum. My teacher thought it would be fun for me to try the vellum in wax and see what would emerge. I loved the results. My instructor also had some wonderful papers. We tried one in back of the wax-dipped vellum print and I loved it. I decided to stitch the paper to the back of the image using embroidery thread, creating an envelope like that below.
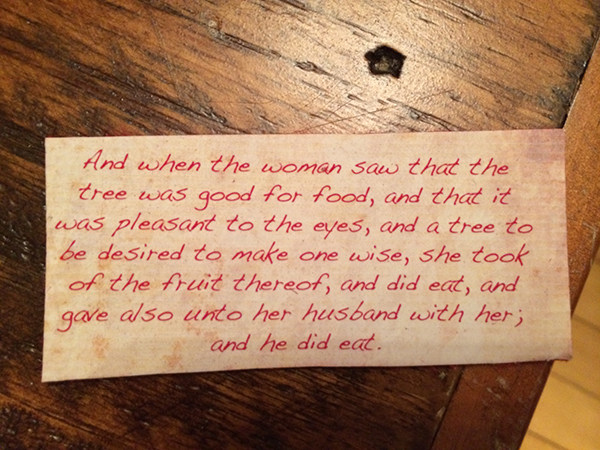
Then carrying through with my Eve imagery, I cut up little red apples from a photo I had taken and put adhesive felt on the back. I dropped these into the envelope as well as a scripture from Genesis in which Eve eats of the fruit in the garden of Eden and offers it to Adam. I printed this out and also put felt on the back and dropped it into the envelope.
 I also added felt to the back of the envelope, punched holes in the top corners, added red eyelets and a wire hanger. I will also be putting this in the Encaustic Jamboree although it is not entirely finished. My hope, once I can return to my teacher's studio is to paint a board with encaustic wax and embellish it with paper apples. Then I will hammer a nail into the board and hang this piece from it. At least that's the plan for now. It seems like my ideas are always evolving.
