Journal Jam

IMG_1094_2 My sister-in-law Gretchin and I are putting together a series of joint art and writing prompt classes that we are calling Journal Jam. We will be announcing the location of the first workshop shortly. In the meantime, we have both been working on our own journal pages. One of the prompts I love to offer comes from a book by Tristine Rainer called Your Life as Story. In it Rainer gives a prompt on How to be ________. The writer than offers a list of criteria describing how to be ______. Gretchin and I plan to use this prompt in our class and as an example I tried my hand at my own.

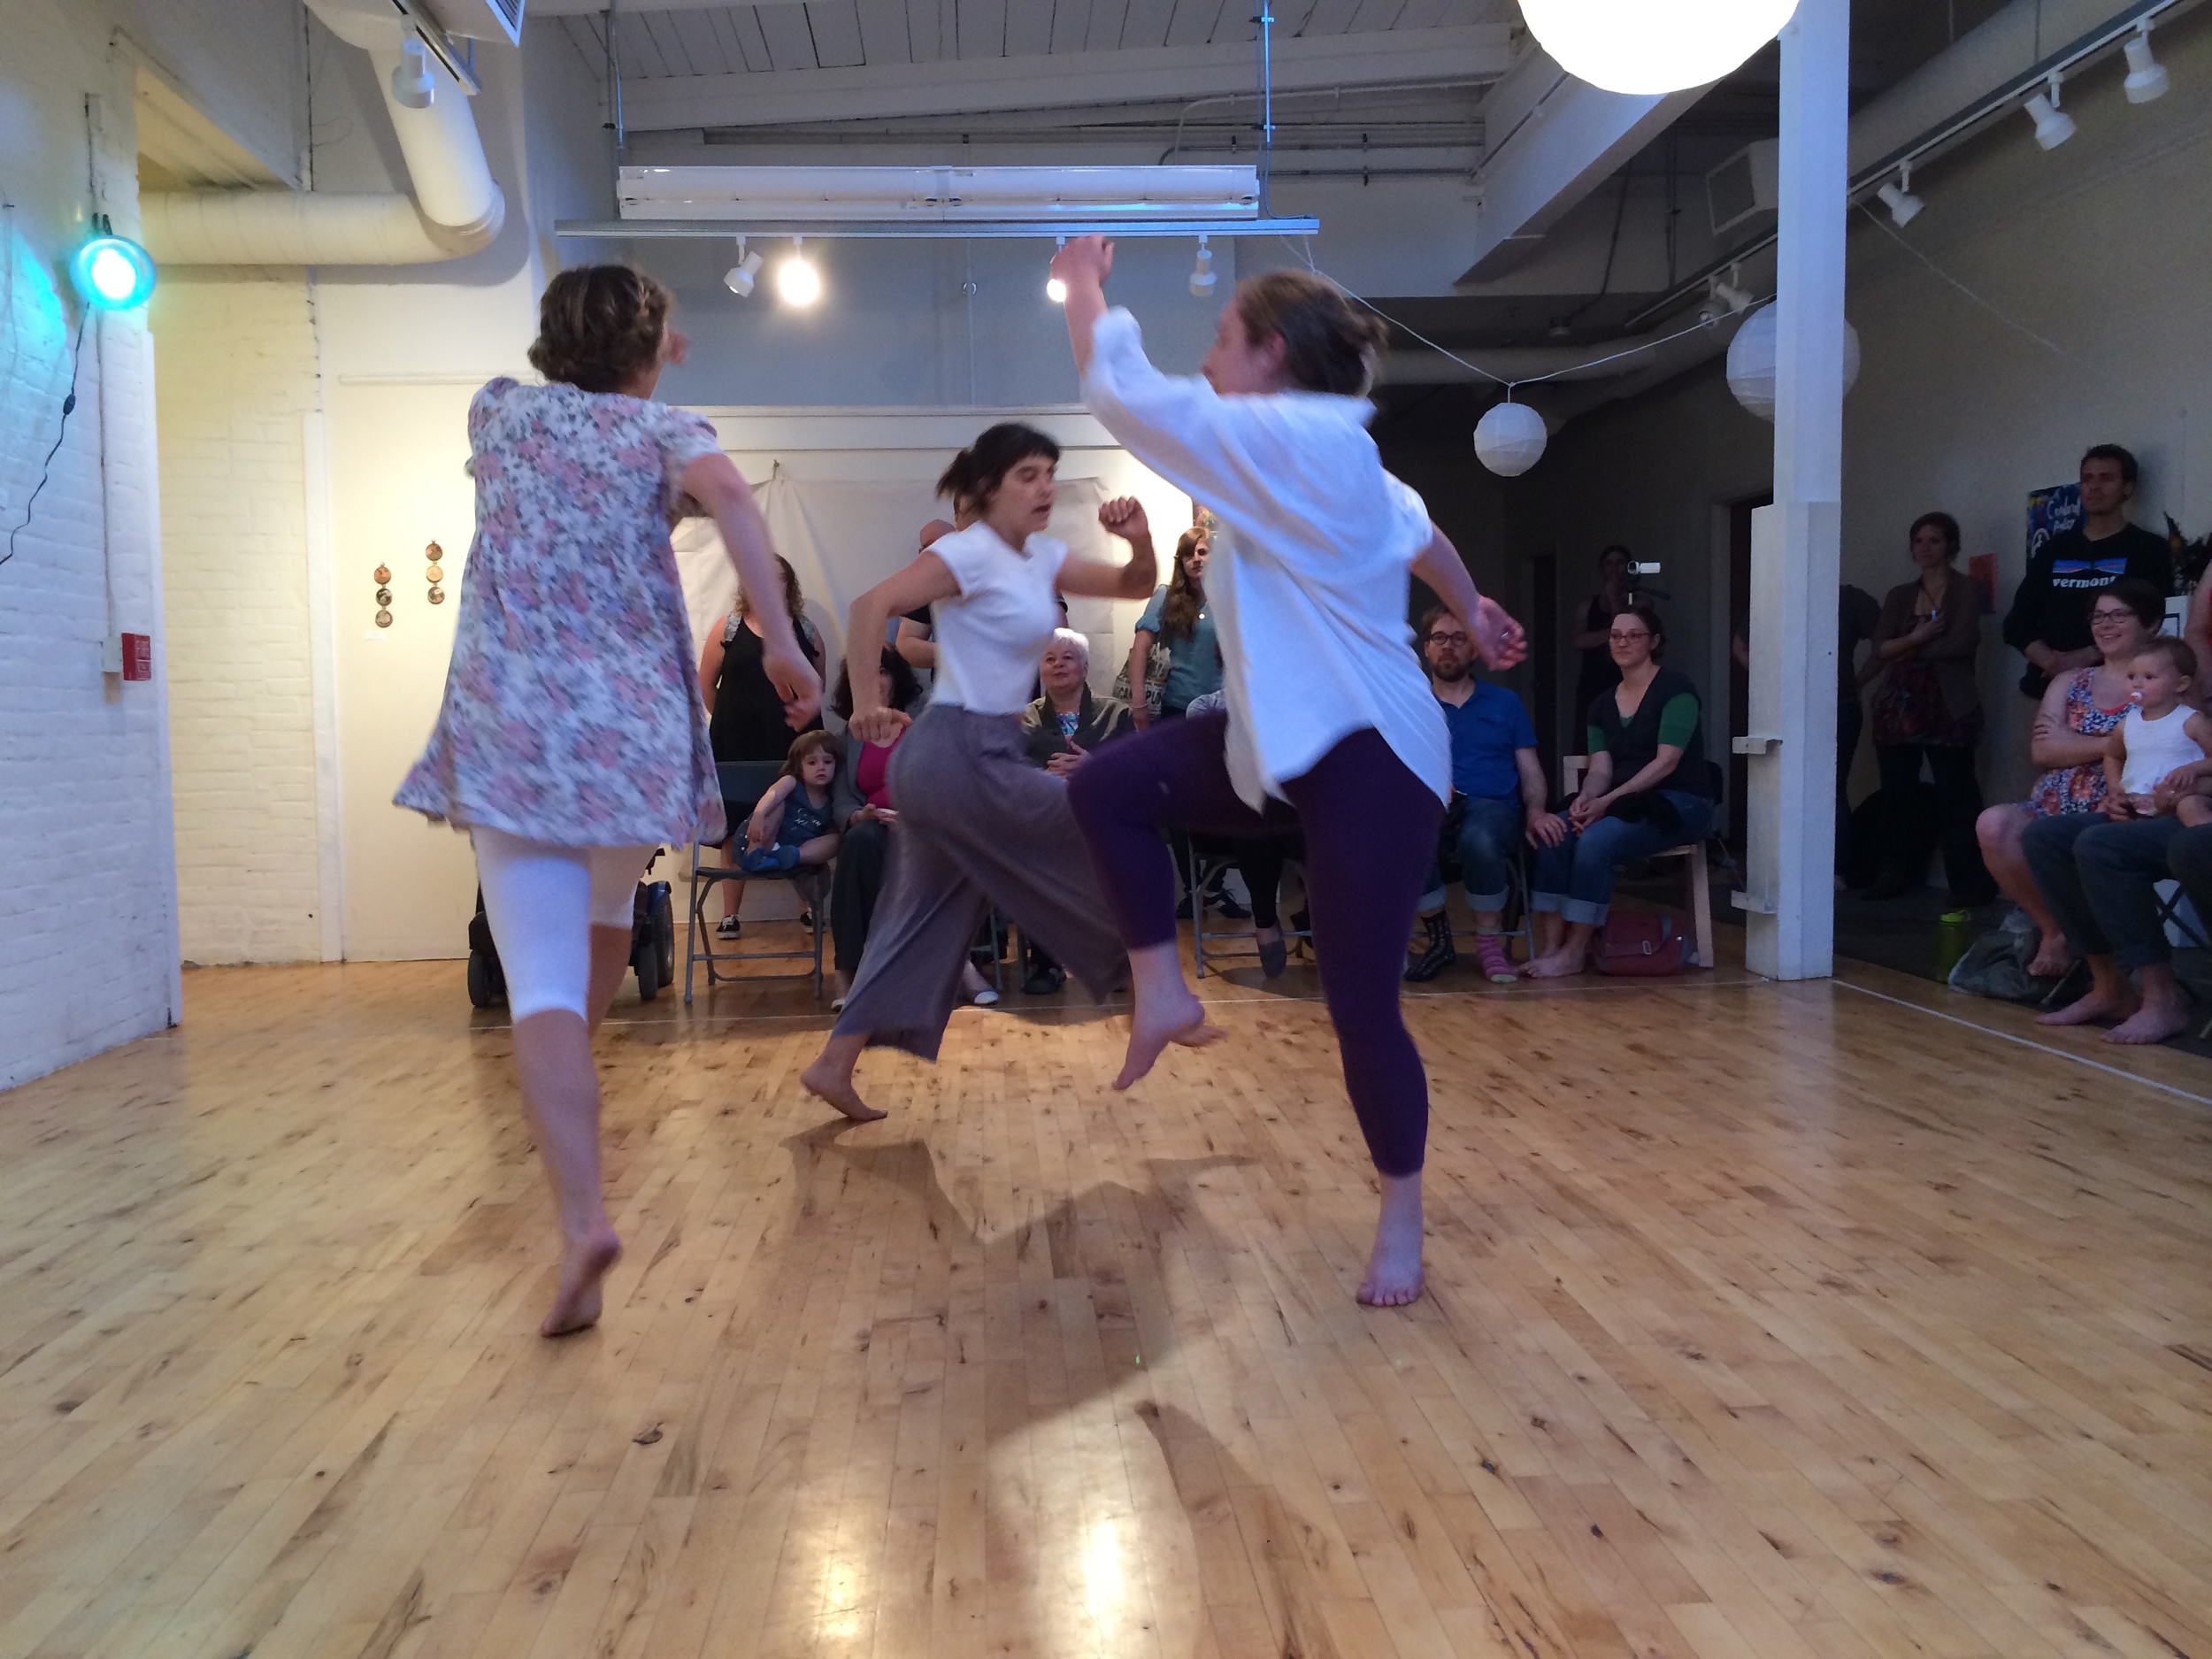
The night before I had been visiting Gretchin's house where my three-year-old niece Ellie was dancing around in the buff. I decided to write How to Be Three-Year-Old Ellie Dancing. Here's the result:

How to Be Three-Year-Old Ellie Dancing

Be Stark Naked

Lift Your Arms in the Air

Twirl

Mold Your Hands into Tight Little Fists

Roll Them One Over the Other

Do Your Magic

Stare Up Into the Sky with a Smug Look of Satisfaction

Burst Into Song

Sing the Theme to Frozen

Twirl Again

Lose Interest

Walk Across the Room, Strutting like a Drunken Supermodel

Turn and Walk Back Toward Me

Shout "Hey Bee, Look at This!"

Twirl One Final Time.

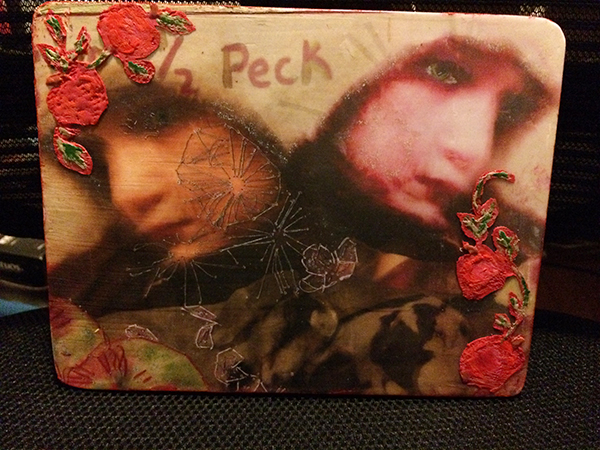
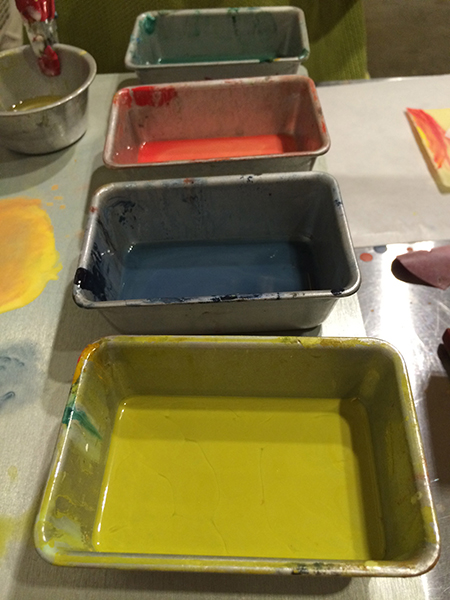
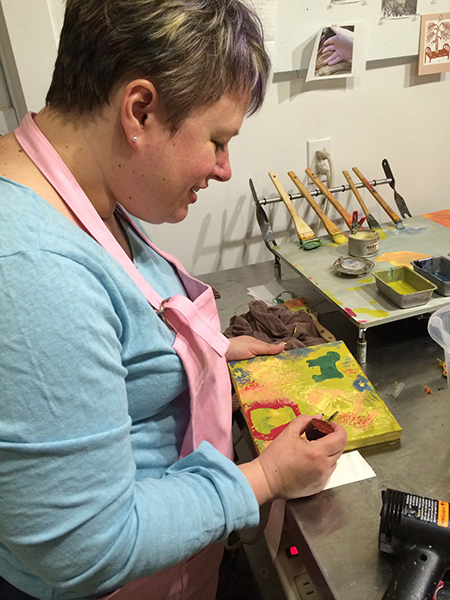
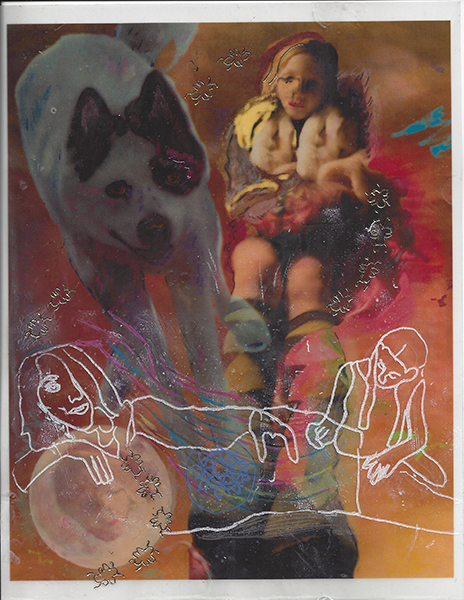
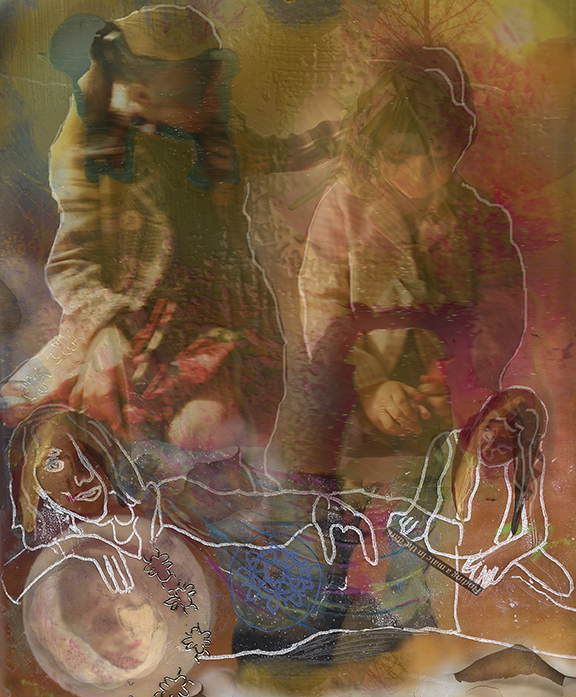
I then went to work on my own journal pages, but as so often happens the preliminary sketches seemed better than the final result, so I experimented a couple of times.

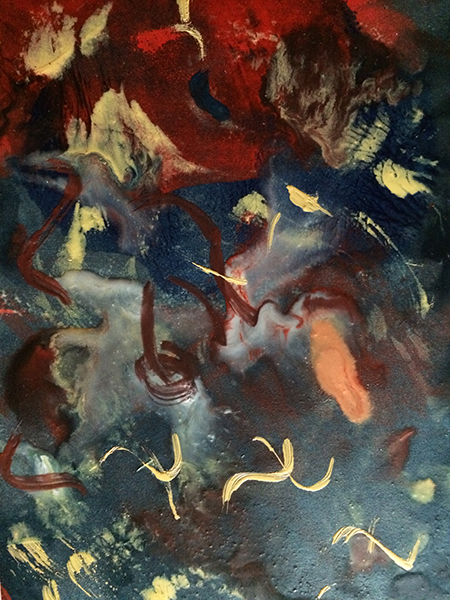
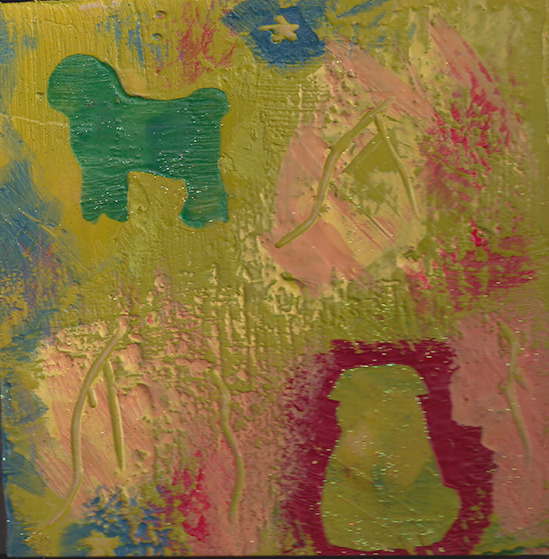
One of the things I love about digital collage and one of the reasons I turned to working in that medium is that nothing every has to go waste. You can always use a "bad" photo or sketch and transform it into something else. I started to do so with one of the iphone pics I took of my sketch.

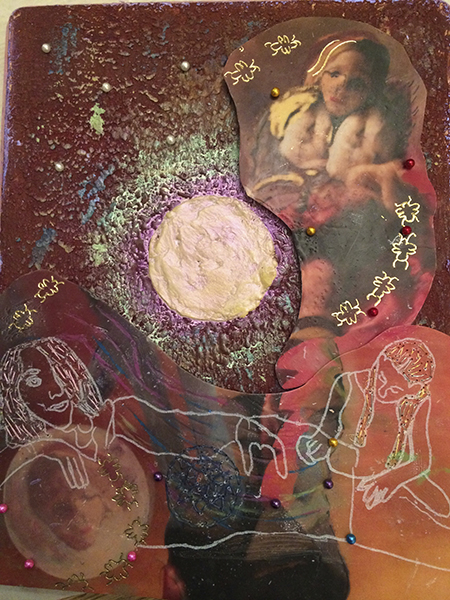
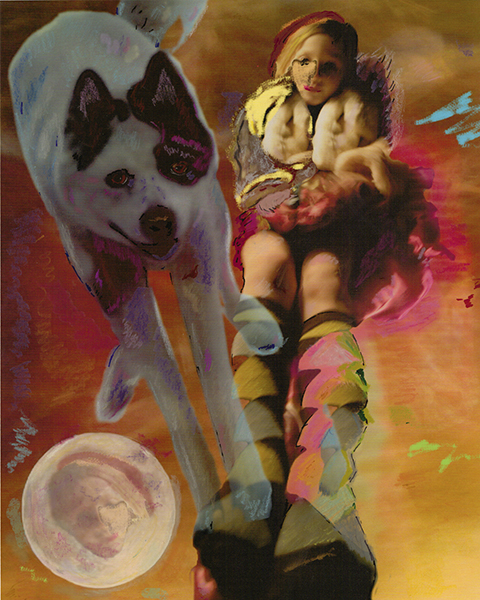
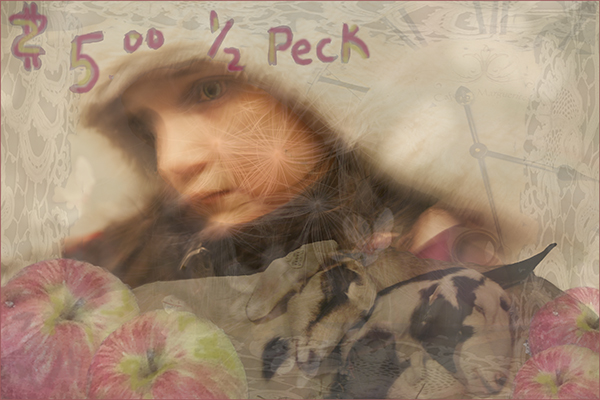
I had an older picture of Ellie and when I put them together it seemed as if the two were dancing. I am still working on the collage. This is just the preliminary piece. I'm calling it Shadow Dancers or Fairytale 699.

blog shadow dancing

I'm hoping to add a version of this to my journal pages as well.


It All Starts with the Children

SONY DSC It was a busy weekend. On Saturday I attended an Open House at author Jon Katz's Bedlam Farm. Sunday, my niece Ellie came down and we went for a hayride at a local pumpkin farm where we got to choose our own pumpkins from the pumpkin patch. Both days were quintessential fall days. The first filled with warm people, sweet song, and sun breaking through the slightly chilled air to create a picture-perfect day. The second? Perfect. How can anything be better than a hay ride through "The Spoooooky Old Woods" as my niece called it to a pumpkin patch to choose the perfect pumpkin? Both days featured beautiful girls and I couldn't resist snapping some pictures to turn into future collages.

My niece Catherine

SONY DSC

Moon Child Encaustic

moon 3 Here's my first official encaustic painting. I say first official because the other encaustic works I have done all prominently featured wax-dipped collages. This does too, but at the base of the work is an encaustic painting. I love the texture it created. I wanted to carry the moon imagery through so I created the moon with a stencil and then rubbed oil paint into the wax to create the aura around the moon. I then attached part of the wax-dipped digital collage I created in class using pins. The three dimensional quality was created by putting cardboard in back of the collage. Finally, I used an iridescent blue acrylic paint to the edges, it looks purple. I'm calling the finished product Moon Child.

Textured encaustic painting

Adding the collage elements

Evolution of an Art Project

Blog Temptation My digital collages are frequently works in progress. While the initial digital aspects of the collage don't often take long to create, it frequently takes me awhile to get to the sewing and drawing and to the decision that the piece is complete. I started this collage, which I call Temptation back in March and only recently finished it, or so I thought. Since summer I have been taking an encaustic class in which I work with beeswax or wax medium and pigments to create textured paintings. I wanted to find a way to add more dimension and texture to my collages. I'm still learning and it has been a process. You need to work in a well ventilated space, which means I have only been able to work on my projects while in my weekly class. I've been a little slow at mastering the techniques, but recently came up with a few pieces that I really like. The problem is knowing when they are finished. The thing with digital projects is you can always scan them back in and continue to revise and revamp them. I've learned that the wax medium also allows you several alternatives, so I've been experimenting with some of the techniques. On November 20th, my class is going to have a show. We're calling it an Encaustic Jamboree. I now have several pieces to put in the show.

The piece shown above is not encaustic. It's the finished version of my digital collage. Originally, I was going to have only one image of a girl in the picture, but created the mirror image when I printed the collage out on vellum paper. It created a whole new look. I scanned the vellum print back in and flipped the image, adding it to the original collage so that I now had two girls. I printed the collage on a laser printer and brought it to my encaustic class. There I secured it to a wooden board with PVA, bookbinding glue, sanded the edges to make the image flush with the board and then dipped it in wax. From there I created a stencil of apples on a vine. I cut out the stencils and painted in the apples with red wax, adding green accents later. Then using acrylic paint, I painted the edges of the board cherry red. Below is the final result, which I will be showing in the Encaustic Jamboree.

temptation

That same class I also brought in some alternative versions of the print including the image I had printed out on vellum. My teacher thought it would be fun for me to try the vellum in wax and see what would emerge. I loved the results. My instructor also had some wonderful papers. We tried one in back of the wax-dipped vellum print and I loved it. I decided to stitch the paper to the back of the image using embroidery thread, creating an envelope like that below.

Temptation Envelope

Then carrying through with my Eve imagery, I cut up little red apples from a photo I had taken and put adhesive felt on the back. I dropped these into the envelope as well as a scripture from Genesis in which Eve eats of the fruit in the garden of Eden and offers it to Adam. I printed this out and also put felt on the back and dropped it into the envelope.

temptation envelope 3I also added felt to the back of the envelope, punched holes in the top corners, added red eyelets and a wire hanger. I will also be putting this in the Encaustic Jamboree although it is not entirely finished. My hope, once I can return to my teacher's studio is to paint a board with encaustic wax and embellish it with paper apples. Then I will hammer a nail into the board and hang this piece from it. At least that's the plan for now. It seems like my ideas are always evolving.

Temptation envelope 2

Childhood Moments

Dancers at The Artist's Childhood Exhibit, Rose Street Gallery The three dancers skipped over the hardwood floor of the gallery, pretending to catch fireflies. They reenacted childhood, creating through their choreography moments of joy and wonder. I was there showing two of my collages as part of the show The Artist’s Childhood. Each of the exhibiting artist showed work that represented a window into their past. I showed my pieces Blueberry Queen complete with princesses, witches and toads and Recipe for a Fairytale with wolf and moon and dreaming child.

Me and my photos

My two-year-old niece Ellie was there representing childhood first hand. She was mesmerized by the dancers and sat quietly throughout their dance. After, however, she was happy to grab my hands and flit around the dance floor. “See my tutu,” she said grabbing on to her tulle skirt.

Ellie and her tulle skirt

The dance brought me back to the days my grandfather would walk us down the dirt roads by his schoolhouse, jars with punched lids in hand, and allow us to catch the lightening bugs with glowing rumps. It was like catching enchantment in a jar. But these were only memories of childhood, hidden but close to the surface, easy to recall. The next evening I spent a moment in childhood, touring the realms of imagination with Ellie.

After dinner she insisted on visiting Best Buy, entering the store with the declaration “Let’s check out what I want for my birthday.” She then ran down the car stereo aisle, pressing every button and turning every dial. She stopped at every camera instructing me to “say cheese” as she lifted one eye toward the lens. She made me say “cheese” at each and every one.

"Say cheese!"

Then we hit the painted circle in the middle of the store. “This is my swimming pool,” she declared, getting down on the floor in her pretty green dress, hiking it up and exposing her pull-up.

Wiggle, wiggle


“I think it’s a store, Ellie,” I said, “you should get up,” feeling like I at least owed her parents an attempt at keeping her off the germ-ridden floor.

“Nope, it’s a swimming pool,” she declared. “Wiggle, wiggle,” as she kicked her legs and moved her arms, swimming on the dirty floor.

“Let’s do yoga,” she said next, reaching her hands to the sky. Soon she was leading customers and staff in downward dog. “It’s a swimming pool,” she said again, dropping to the floor. And, it didn’t end, not quickly anyway. And, in those moments she stole me from the adult world, away from the realm of responsibility and memory in which we remember childhood from afar. Better than any magician or any choreographed moment, better than any picture or recipe I could concoct, she whisked me into her world of spontaneity and freedom where there were no stores, no dirty floors, just endless depths of possibility waiting to explore.

Catching the Moon


Scenes from Class

Wax on Paper I had my third encaustic painting class tonight. We started with photo transfers on to a wax surface. You basically apply a xerox print to the wax, which you burnish and then use water to theoretically remove the paper and keep the xeroxed image. I say theoretically because it can be a tricky process and my tiger lost it's head and a lot of it's limbs in the process. You can see some of its stripes.

Tiger Transfer

I prepared another board by pasting one of my digital collages to it. We will be working with that next week. I also gessoed a second board to create a smooth polished surface also to use next week and concluded the class by playing with wax on paper.

Wax on Paper

I think this wax on paper image will make a great collage background. Here are some more scenes from the class:

The instructor and fellow student.

Wax pigments

Brushes

Me applying wax


Something New

Over the last year my photographs have been chosen for two Healing with Arts shows at the Norris Cotton Cancer Center at DHMC in Lebanon, N.H. At the last show a fellow artist told me about a four-week class on encaustic painting or painting with pigments mixed with hot wax. We had discussed this before because we were both interested in introducing new elements to our art. The digital collages I make end up being 2-D prints of my work, but I am always interested in introducing 3-D elements and texture to see what they add to a picture when it is once again scanned and compressed into a 2-D image. I thought wax might be an interesting option. Me in front of one of my photographs at the last Healing with Art show.

The class has been a lot of fun in spite of the fact that I've had to relax during the learning process, something that is not easy for me to do, and be willing to make mistakes. The first night we took a square wooden board and covered it with wax and experimented with various techniques to add texture, carve into the surface and to add stencils. Our teacher taught us two different stenciling techniques to add decorative designs to our pieces and I, of course, chose to add pugs. As an aside, the instructor noted that she was very impressed that I could create stencils of pugs on the spot from memory (oh, how little does she know!)

Step 1: My first encaustic experiment.

For week two, the instructor suggested that we bring in some of our own images that we wished to use in our encaustic works. I brought in several of my photo collages.

My Photo Collage: Recipe for a Fairytale.


She taught us two dipping techniques for covering the image with wax and then had us experiment by using some other materials she had in her studio such as Papilio Metallic Transfer Paper and Saral Transfer Paper. We also used National Geographic to transfer images to our work.

Papilio Metallic Transfer Paper.

Saral Transfer Paper

I used the Papilio Metallic Transfer Paper to add gold scarabs to my waxed-dipped collage and the Saral Transfer Paper in white to combine two images from National Geographic, placing them at the bottom of the piece.

Waxed Dipped Collage with Transfers.

While working on the image in class I already began to formulate some ideas for what I wanted to do with it when I got home and could experiment in Photoshop. I knew I wanted to keep elements of the original collage such as the colors and feel, but that the new elements were more of a distraction than a complement. I loved, however, how the bottom portion of the image looked. I decided that I would cut it out either literally or in Photoshop and then put it on a new background. Once I got it in Photoshop, however, I began playing around with blurring the background and adding new elements to the image. I had originally planned on waiting to sew on the wax, which has an unique feel and appearance, before manipulating the image in Photoshop, but I couldn't wait and ended up really liking the result. I used both the image of my waxed-dipped collage and my encaustic painting on wood, merging them in Photoshop to create a more textured background. I then began experimenting by adding photographs I have in my "materials" folder in Photoshop. I am far from finished as I want to still print the piece out and experiment with thread and paint and drawing and may even change the piece further or create a whole new one as I progress in my next two classes, but wanted to share with everyone what I have done so far. The instructor is supposed to teach us how we can set up our own encaustic studios or workspaces, which I hope I can do (You need a space that is well-ventilated) because I like the texture it adds to the collages, but also think I could produce some interesting traditional pieces as I learned the techniques better. I'll continue to post pictures as the collage progresses.The friend who introduced me to the encaustic class often prints  her work out on aluminum and I am considering doing so with this piece when it is complete.

Working Draft Digital Collage: Prayer

For now I'm calling it "Prayer."

Collage: Temptation

blogTori winter 2f With all my work and writing behind the scenes of this blog, I haven't had much time to create any new collages lately. I started this one a couple of weeks ago after taking a blurry shot of my niece Tori in the snow. I've been trying various incarnations out and finally arrived at a draft I am pleased with tonight. I still need to print it out and work on the extras. I know I want to embroider around the edges a bit and add some pastel, but this is the initial digital draft. I'm calling it Temptation. To me this is the child Eve, the tempted and the temptress. There's more to it than that, I think, but that's where I started.

Writing Projects

Blog Abby I haven't been blogging much lately, but that doesn't mean I haven't been writing. I had three articles due by New Year's -- one on real estate sales, one on Rutland Regional Medical Center and one on the things we do for our pets. Each is either finished or almost so. I also had my friend Joan's (Waffles' breeders) annual Christmas letter to get out to all the people who had received puppies from her over the years and I've been working on a short story. Inspired by my work last year with the Hubbard Hall Writers' Project, I decided I needed to get some of my own writing projects out of my head and down on paper. The story isn't done yet and on the face of it isn't the most cheerful of subjects -- about a man who runs a pet crematorium -- but I think it has soul. I hope it will be one of many dog-focused stories and expect the follow-ups to be about happier themes. In the meantime, I have begun exploring the option of turning some of my photo collages into Kindle covers, I hear there's a market for them and many people have commented that my collages already remind them of book covers. My first attempt will be a collage to go along with the dog story, but I needed a Labrador model. I'm hoping to still take some more photos of some other friends dogs in the next couple of weeks to get a variety of shots to use, but one of my friends from my photography classes offered me the opportunity to take a picture of her brother's dog, Abby, who is a partial Lab. Today, I visited my friends house and got a number of shots to use for the collage in addition to this pretty portrait. I think she enjoyed modeling. When the collage and story are done I will let you all know.

Collage Draft: Hungry Mind

Collage Draft: Hungry Mind  

Knickerbocker Staircase, circa 1780. Photo by Beth Heffern


I intended to write a blog post tonight, but got distracted by Facebook. I tuned into the Open Group at Bedlam Farm (a Facebook community) and saw Beth Heffern's challenge to do some interactive photo editing. I haven't had time to work on any photo collages lately and I was intrigued by Beth's photo as well as her idea to have members of the forum edit the picture of the Knickerbocker Staircase in their own way in order to learn from each other. By the time I took on the challenge, members had done some incredible editing, warming the shot, transforming it to black and white and creating some intriguing abstracts as well as stories to accompany them. I started the above collage and have a lot more to do to it before I call it complete, but unfortunately it's time for bed and I have to get up early to work on my Obamacare article. I'm happy with the beginning, however. The child on the staircase is named Sadie. I captured her photo at the Bedlam Farm Open House the other day and asked her mom's permission to use her photo in a collage. I have some others I will be using in the future, but when I first saw the staircase I pictured a child sitting on it. She and the cats, I imagine, are being inquisitive, listening to voices nearby. The other girl is my niece Catherine. I am considering lightening her hair in the picture to more closely match Sadie's. We'll see. I haven't quite worked out the whole story yet. I added broken glass on the staircase and I am imagining an argument that the child is overhearing. I am pleased with the dimensionality of the piece, the way Catherine is running toward something and the play of light. I'm trying to decide where to add hand-drawn elements and if I will add a further border or any embroidery. We'll see. I may even take things away. It's just a start...

I'm interested in what the picture is saying to you so far...